


Introduction
Experience points in Escape from Tarkov determine how fast you unlock traders, gear, and new maps. Boosting sessions focus on high‑XP actions to help you level up more quickly than solo play. By working with an expert runner, you hit scav clusters, player targets, or repeatable tasks in the most efficient order. This cuts down time spent on low‑value kills or random roaming.
When you plan a boost session with clear XP goals, you can turn what might take hours of solo effort into a single focused raid. In this article, you will learn how to choose the right map for XP gains, plot an efficient run path, and use gear and communication strategies to maximize points per minute. You’ll also see how to track results and refine your approach over multiple sessions. Whether you aim to push into the next level bracket or unlock a specific trader loyalty level, these tips will help you use boosting runs more effectively. By treating each session as both a progress tool and a learning opportunity, you’ll build solo play skills while cutting down grind time. Follow along to get the most XP from every Tarkov boosting run.
Choose the Right Map
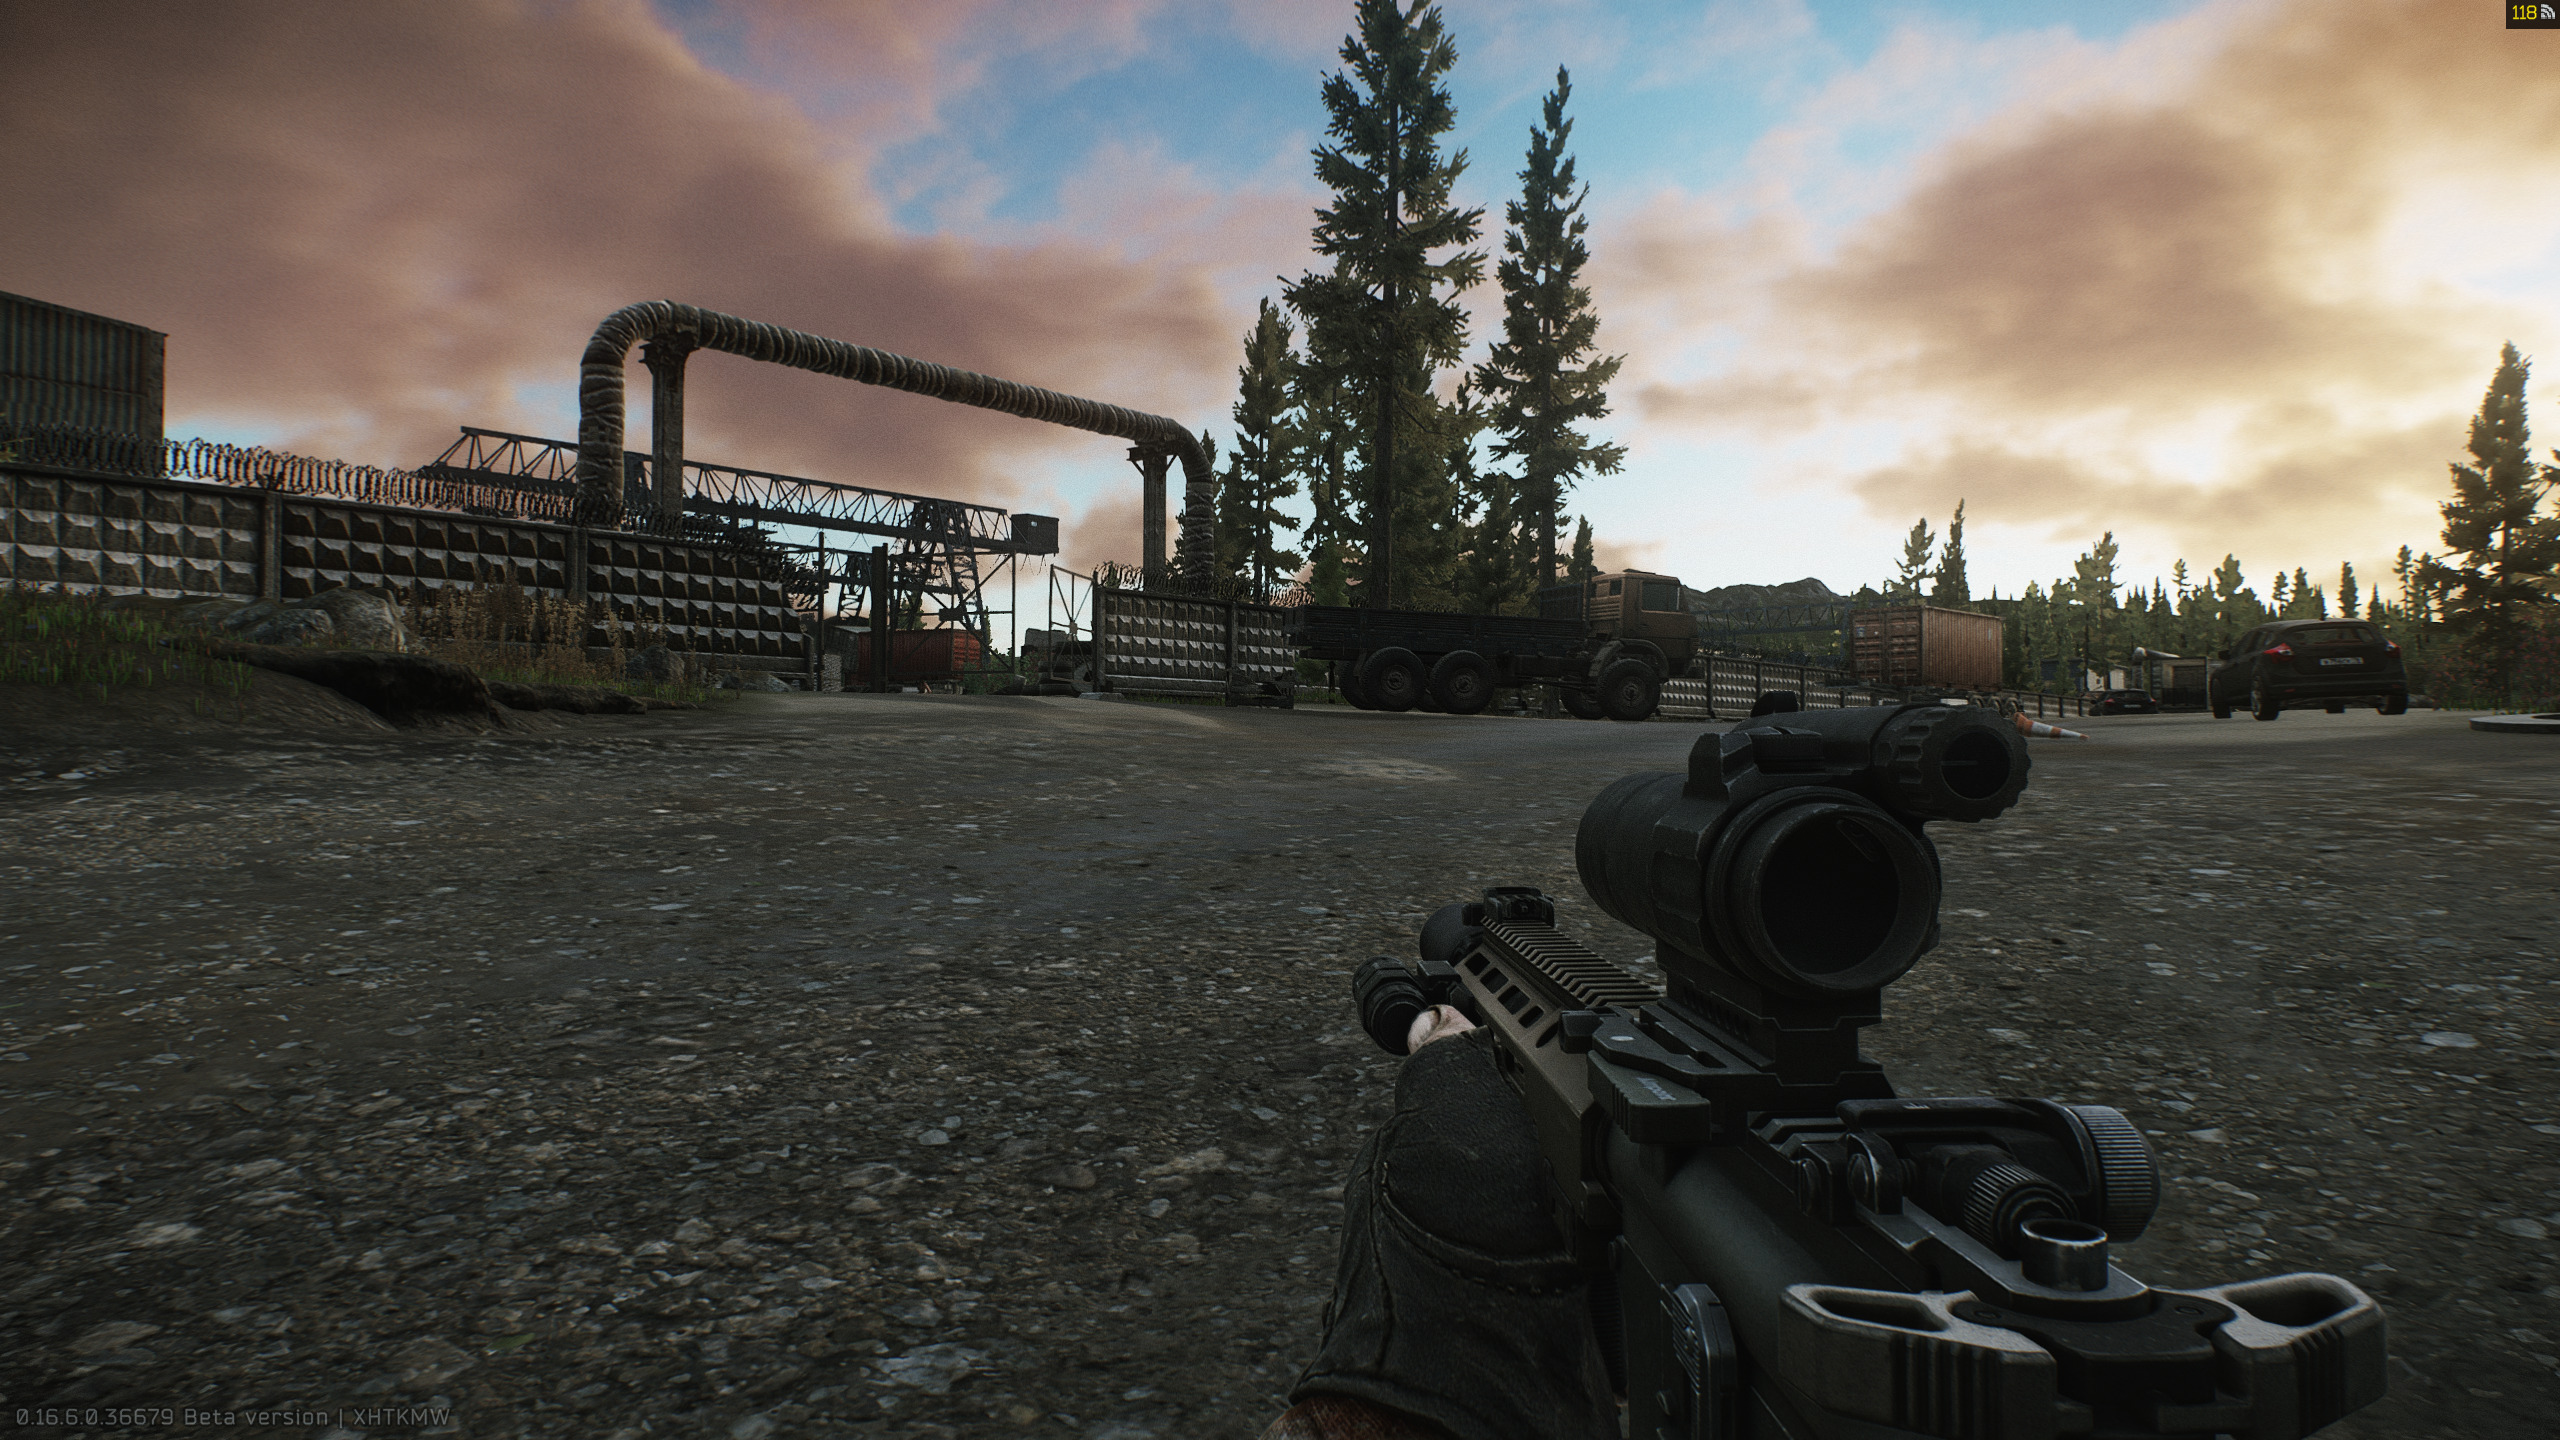
Not every map offers the same experience yield. Small, tight maps like Factory let you engage scavs and players in quick succession, which boosts your XP rate per minute. On this map, boss runs and PMC fights deliver high points in a short window. Customs offers multiple scav spawn zones, making it ideal for mixed XP from both scavs and players. Woods remains a strong pick for repeatable task farming, harvesting XP from patrol kills and object searches.
Reserve provides boss fights and high‑tier loot spawns that combine XP from combat and loot tasks, but the larger size means longer travel times. When you pick a map, match it to your session length. For a 30‑minute run, choose Factory or a small Customs loop. If you have an hour or more, Woods or Reserve can yield more total XP, even with extra travel. Also consider server traffic: off‑peak hours reduce competition for scavs and loot, letting you clear hotspots faster. By selecting the optimal map for your time slot and XP target, you set the stage for a session that hits your experience goals without wasted steps.
Plan Your Run Path
Once you select a map, outline a clear path that connects the most valuable XP spots in a loop. On Factory, you might start at the office area, move to the control room for scav clusters, then push into the main hall for PMC engagements before extraction. On Customs, a path could run from the dorms scav spawn to the gas station for player kills, then head toward factory for boss runs, ending at the trailer park extraction. Mark each point on your client’s map notes or a shared screenshot so you know where to move next without hesitation.

Avoid backtracking by linking spawn points in a clockwise or counter‑clockwise route. Make sure your path includes both combat zones and loot spots tied to repeatable tasks, such as searching marked locations or opening containers. Confirm extraction points in advance so you can exit immediately once you hit your XP goal. By having this route planned, you cut down decision time in‑raid and keep momentum high. During the run, follow the runner’s lead or use the marked map to track progress. This structured approach ensures you collect maximum XP per minute and hit your target before extraction.
Focus on High‑Value Actions
To get the most XP in each boosting session, zero in on actions that reward the highest points per minute. First, target scavenger clusters (groups of AI scavs). Clearing a group of five or more scavs can yield 30,000–50,000 XP in under a minute if handled swiftly. Next, mix in player‑VS‑player kills when server traffic allows it. Eliminating an enemy PMC grants large XP bonuses, often exceeding scav kills. If time permits, include repeatable tasks such as searching marked areas or opening key containers; these actions stack XP without added risk. Finally, add boss or raid‑specific targets. Boss kills on maps like Lighthouse or Shoreline can award 100,000+ XP each, but they require extra prep. Balance boss runs with quicker scav and player engagements to keep XP gains steady.
Key high‑value actions:
- Scav clusters: Fast kills, high XP per minute.
- PMC engagements: Large XP bonuses, moderate risk.
- Repeatable tasks: Safe container searches, marked room loot.
- Boss kills: Massive XP but longer prep and travel.
By arranging these actions in priority order—scav clusters first, then PMC kills, followed by tasks and boss runs—you maintain a high XP rate throughout the session. Track each action’s XP yield in your post‑run review to refine which combination gives the best return on your time investment.
Optimize Gear Loadout
Your gear choices affect both your speed and your XP output. Lightweight weapons let you move faster between targets, while high‑damage options cut combat time. Armor that balances protection and mobility reduces downtime from hits. Throwables like frag grenades and flashbangs clear groups quickly, adding both combat efficiency and extra XP for each kill. Below is a table comparing common gear loadouts for boosting runs:
| Gear Element | Option A | Option B | Benefit |
|---|---|---|---|
| Primary Weapon | 5.45 AKS‑74U (lightweight) | MP7 (high rate of fire) | Faster movement vs. quick kills |
| Armor | Paca Soft Armor | 6B2 Armor Vest | Mobility vs. extra protection |
| Helmet | SSH‑68 | Fast‑MT | Basic head cover vs. modular fit |
| Backpack | MBSS (small) | TriZip (medium) | Speed vs. extra loot space |
| Throwables | F1 Grenades (x3) | Zarya‑2 Flashbangs (x3) | High damage vs. stun and blind |
| Medical Kit | AI‑2 Medkit | Salewa Kit | Quick heal vs. larger heal amount |
Choose one option per element based on your session goal. For example, a loot‑only run pairs well with Option A for speed, while a boss fight session benefits from Option B’s protection and firepower. Always pack just enough medical supplies to minimize weight. A light loadout lets you hit more targets in less time, which directly translates to higher XP per minute.
Use Communication to Your Advantage
Strong communication lets you adapt on the fly and squeeze extra XP out of a session. If you’re boosting with a runner, use voice chat for real‑time calls on scav movements or enemy locations. A quick “three scavs ahead” alerts you to prepare for a group kill, boosting both speed and safety. Share live updates on your own status—if you need cover or a brief pause to heal, let the runner know instantly to prevent mistakes.
When voice isn’t available, in‑game text messages work too. Use short, clear phrases like “ready,” “moving,” or “extract now.” Agree on key terms before the run so you don’t waste time typing full sentences. If the operator uses a route diagram or map notes, refer to waypoint numbers (“WP2 next”) instead of long descriptions.
Communication checklist:
- Confirm channel: Voice or text, and test mic or chat functions.
- Set call signs: Short codes for common actions (e.g., “scav,” “boss,” “extract”).
- Share status: Health, ammo, and position updates in brief bursts.
- Signal XP targets: Note when you hit milestones (e.g., “50k reached”).
- Coordinate exit: Agree on a countdown (“3, 2, 1, extract”) to end run on time.
By fine‑tuning your communication, you avoid delays, reduce errors, and keep XP gains consistent. Clear, concise exchanges help you and the runner stay in sync, making every second in the raid count toward your progress.
Combine Boosting with Solo Practice
Boost sessions serve both progress and training roles. After you complete a boost run, use your debrief notes and any route diagrams provided to plan a solo practice session. Load into the same map with the same loadout and follow the runner’s path at your own pace. This solo practice reinforces what you learned, like exact scav cluster locations, optimal cover spots, and extraction timing. Over time, these solo runs will take less time, closing the gap between boosting and solo play efficiency.
Apply specific tactics you observed during the boost. If the runner used a flashbang to clear a corridor before moving in, practice that in your solo runs. If they leaned around a corner to take out a scav cluster, test that angle under fire. Record your solo runs if possible, then compare them to boost session recordings or screenshots. This side‑by‑side view highlights small mistakes you can correct.
Finally, rotate between boost sessions and solo practice every few runs. For example, after two boost sessions on Factory, schedule three solo runs following your refined route. Then switch to a Woods boost session and repeat. This cycle builds your skills rapidly and makes future boosting less necessary. Combining boosting with solo practice gives you both immediate XP gains and long‑term performance improvements.
Final Checklist
Before you book your next boost for maximum XP, run through this checklist to ensure a smooth session:
- Goal clarity: State your exact XP target and map at booking.
- Map selection: Choose a map that matches session length and XP needs.
- Run path: Have a marked route connecting scav clusters, PMC spots, and tasks.
- Loadout prep: Pack lightweight, high‑damage gear and essential throwables.
- Communication test: Confirm voice or text chat and set call signs for key actions.
- Time splits: Plan checkpoints at 25%, 50%, and 75% of your XP goal.
- Extraction plan: Agree on exit point and a five‑minute warning cue.
- Data tracking: Set up a simple log for XP, time, and action counts.
- Debrief plan: Request a quick review or route screenshot after extraction.
- Practice follow‑up: Schedule a solo session to apply observed tactics.
Checking each item off before you start maximizes your chances of a high‑yield run. It also minimizes the chance of miscommunication or gear mistakes that cost valuable seconds.
Conclusion
Tarkov Boosting for maximum XP speeds your progress by focusing on key actions, clear routes, and efficient gear. By selecting the right map, planning a looped path, and targeting high‑value kills and tasks, you set yourself up for a strong XP‑per‑minute rate. Gear choices and communication strategies further tighten your run, while strict time management keeps you on pace.
Tracking session data and adjusting based on results makes each boost more effective than the last. Finally, combining boost sessions with solo practice cements your new skills and reduces future reliance on boosting. Follow the checklist to prepare every boost run, and use post‑run analysis to refine your approach. With these tips, you’ll turn each Tarkov boosting session into both a shortcut for experience and a training ground for better solo performance. Enjoy faster levels and clearer goals as you push through Tarkov’s challenges.